A Comprehensive Guide to Trimming Your Parrot’s Nails
Parrots are delightful, intelligent, and colorful companions, but caring for them involves more than just feeding and playing. One crucial aspect of their care is maintaining their nail health. Trimming a parrot’s nails can be a daunting task, especially for new bird owners. However, with the right tools, techniques, and patience, you can ensure your parrot’s nails are kept at a healthy length, preventing discomfort and potential injury. In this blog, we’ll walk you through the entire process of trimming your parrot’s nails, from preparation to aftercare.
Why Trimming Your Parrot’s Nails is Important
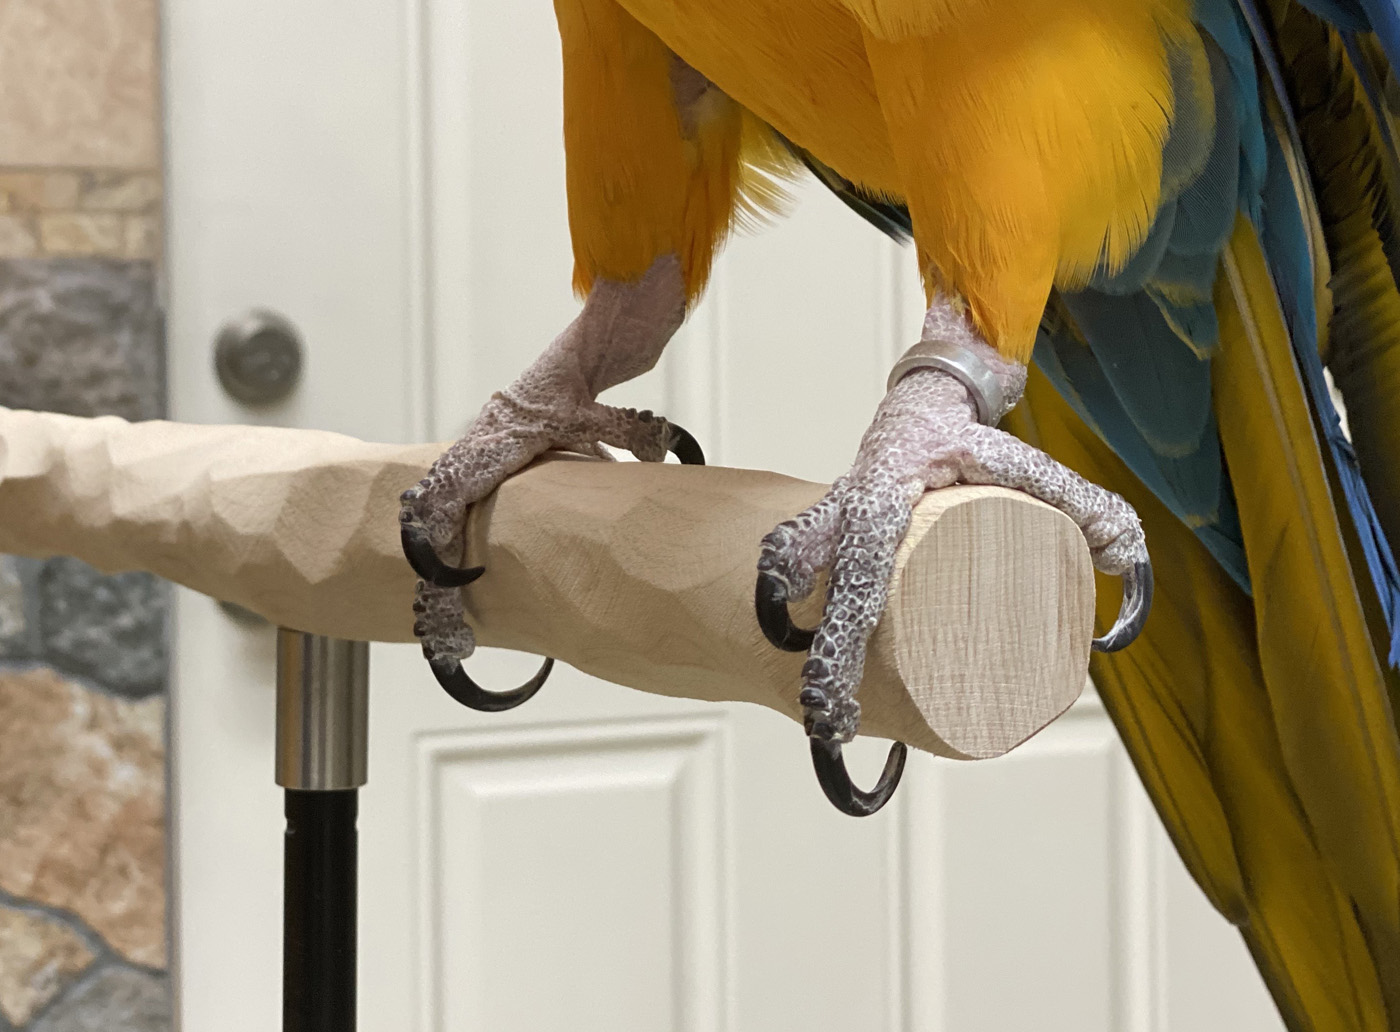
Parrots in the wild naturally wear down their nails by climbing, foraging, and landing on various surfaces. However, pet parrots often lack the same opportunities to naturally trim their nails, leading to overgrowth. Overgrown nails can cause several issues, including:
- Discomfort and Pain: Long nails can make it uncomfortable for your parrot to perch properly, leading to pain and potential injury.
- Difficulty in Movement: Overgrown nails can hinder your parrot’s ability to climb and move around their cage or play area.
- Injury to Owners: Long, sharp nails can unintentionally scratch or injure you during handling or play.
- Infections: If a nail breaks or splits, it can expose the sensitive tissue underneath, increasing the risk of infection.
Regular nail trimming helps maintain your parrot’s comfort and overall health.

Tools You Will Need
Before you begin trimming your parrot’s nails, gather the necessary tools. Having everything prepared will make the process smoother and less stressful for both you and your parrot. Here’s a list of what you’ll need:
- Nail Clippers: Use small, sharp nail clippers designed for birds or small animals. Avoid using human nail clippers, as they may not be suitable for your parrot’s nails.
- Styptic Powder: This is essential in case you accidentally cut the quick (the blood vessel inside the nail). Styptic powder helps stop bleeding quickly.
- Towel: A soft towel will help secure your parrot gently, preventing them from flapping their wings and making the process more manageable.
- Treats: Have some of your parrot’s favorite treats on hand to reward them after the trimming session.
Step-by-Step Guide to Trimming Your Parrot’s Nails
1. Prepare the Environment
Choose a quiet, well-lit area for nail trimming. Ensure there are no distractions or sudden noises that might startle your parrot. It’s essential to create a calm and safe environment.
2. Restrain Your Parrot
Gently wrap your parrot in a soft towel, leaving their head exposed. This will help keep them calm and prevent them from flapping their wings. Ensure the towel is snug but not too tight, allowing your parrot to breathe comfortably.
3. Examine the Nails
Take a close look at your parrot’s nails to identify the quick. The quick is the pink or red area inside the nail, which contains blood vessels and nerves. It’s crucial to avoid cutting into the quick, as it will cause pain and bleeding. In dark-colored nails, the quick may be harder to see, so take extra care.
4. Trim the Nails
Hold your parrot’s foot gently but firmly. Using the bird nail clippers, trim the tip of each nail, avoiding the quick. It’s better to trim a small amount at a time rather than risking cutting too much. If you’re unsure, it’s always safer to trim less.
5. Handle Bleeding
If you accidentally cut into the quick and the nail starts bleeding, apply a small amount of styptic powder to the tip of the nail. This should stop the bleeding quickly. Remain calm and reassure your parrot during this process.
6. Reward and Reassure
Once you’ve finished trimming all the nails, offer your parrot their favorite treat as a reward. This positive reinforcement will help them associate nail trimming with a pleasant experience. Spend some time reassuring and comforting your parrot to reduce any stress they may have experienced.
Tips for a Stress-Free Experience
- Start Young: If you have a young parrot, begin handling their feet and introducing them to the nail trimming process early. This will help them become accustomed to the procedure as they grow.
- Take Breaks: If your parrot becomes overly stressed or agitated, take a break and allow them to calm down. You can resume trimming once they are more relaxed.
- Seek Help: If you’re unsure about trimming your parrot’s nails or if your parrot is particularly uncooperative, consider seeking help from a veterinarian or a professional bird groomer.
- Regular Maintenance: Regularly check your parrot’s nails and trim them as needed. Frequent, small trims are better than letting the nails become too long and then trying to cut them back significantly.
Conclusion
Trimming your parrot’s nails is a vital part of their overall care. While it can be a challenging task, especially at first, patience and practice will make the process smoother for both you and your feathered friend. Remember to create a calm environment, use the right tools, and reward your parrot for their cooperation. By keeping their nails at a healthy length, you’ll ensure their comfort and well-being, making for a happier and healthier companion.


